How Tall Can a Masonry Wall Be Without Columns? Slenderness Ratio Rules
How tall can a masonry wall go without any columns or beams supporting it? I get this question from boundary wall contractors almost as often as from homeowners, and the honest answer disappoints people who want one fixed number. There is no fixed number. It all comes down to a ratio between the wall’s height and its thickness, and that ratio behaves very differently depending on whether the wall has support at the top or is standing completely free.
The Governing Number: Slenderness Ratio
A masonry wall’s stability against buckling and overturning is controlled by its slenderness ratio, calculated as its height or length divided by its thickness. Most masonry codes cap this ratio at roughly 27. Push a wall past that limit without additional support, and it becomes vulnerable to buckling out of plane, especially under lateral loads like wind or an earthquake, even if it is carrying no vertical load beyond its own weight.
Why the Same Wall Behaves Differently in Two Situations
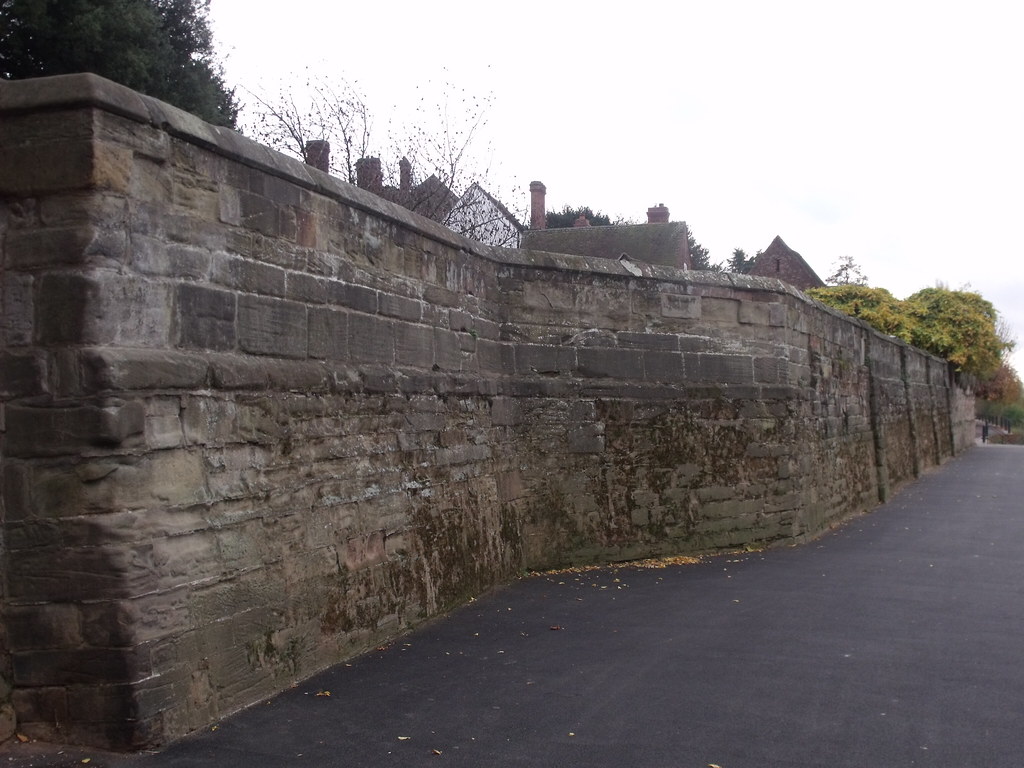
This is the part that surprises people. A 9 inch thick wall built inside a house, where the slab above provides lateral restraint at the top, can safely reach roughly 3 to 3.5 meters in height. The same 9 inch wall, built as a free-standing boundary wall with nothing restraining its top edge, is only safe to about 1.5 meters. That is a dramatic difference for the identical thickness of masonry, and it exists entirely because of that missing top restraint. Without a slab or beam holding the top of the wall in place, the entire wall is behaving like a much more slender, much less stable element.
This is exactly why I see so many boundary wall failures during storms and why it deserves more attention than it usually gets. A contractor builds a tall, unsupported boundary wall using the same thickness they would use for an interior wall, without accounting for the missing top restraint, and ends up with a wall that is nowhere near as stable as it looks.
What to Do When You Need More Height
If a boundary wall or any free-standing wall needs to go higher than what its slenderness ratio safely allows at a given thickness, the fix is not simply making it thicker everywhere, which gets expensive fast. Instead, add piers or small columns roughly every 3 meters along the wall’s length, tied into a reinforced concrete band. These piers act like periodic supports along the wall, effectively breaking it into shorter, stiffer segments rather than one long unsupported span.
Length Matters Too, Not Just Height
The same slenderness logic applies along a wall’s length, not only its height. A very long wall without any cross walls or piers is prone to cracking from thermal movement and shrinkage, independent of any load issue. As a rule of thumb, I specify a control joint roughly every 9 meters along a long wall run, which allows the masonry to move slightly without transferring that movement into a visible crack.
Seismic Zones Need Confined Masonry, Not Plain Walls
Given that Pakistan sits across active seismic zones, I do not recommend plain unreinforced masonry walls, free-standing or otherwise, without confining elements. Confined masonry, meaning reinforced concrete bands at plinth, lintel, and roof level along with tie columns at corners and junctions, gives a wall far better performance during ground shaking than mortar and brick alone. This applies to boundary walls too, even though they often get treated as an afterthought compared to the main structure.
Watch the Full Video in Urdu
I explained the height and length limits with real numbers in Urdu for my Instagram audience, since boundary wall failures are something almost every contractor and homeowner has seen firsthand. Watch the full reel embedded above, and follow @teeqiii on Instagram for more practical structural guidance like this.
If you are planning a boundary wall or any free-standing masonry element and want the height and pier spacing checked properly, reach out through my contact page.